Gustavo Allebrandt
Technical Artist
Dreamworks Dragons Wild Skies
Created at Aquiris Game Studio along with Cartoon Network and Dreamworks, the game Dragons: Wild Skies is based on the series Dragons: Riders of Berk. Basically in the game the player acts as a dragon trainer where he is able to train dragons and fly with them in different and mind-blowing aerial challenges. The dragons used in the game are real characters from the original movie How To Train Your Dragon. When a new dragon is shown at the series, he is immediately available to be trained in the game.
Environment Art
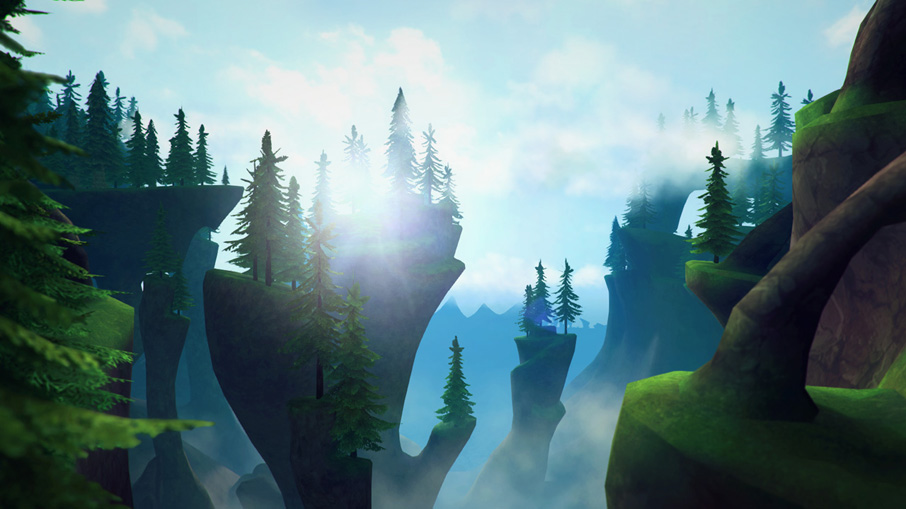
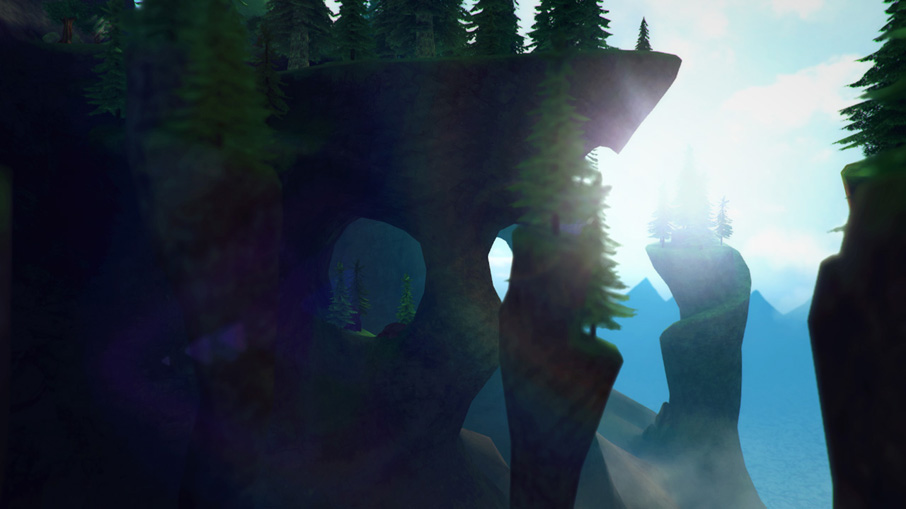
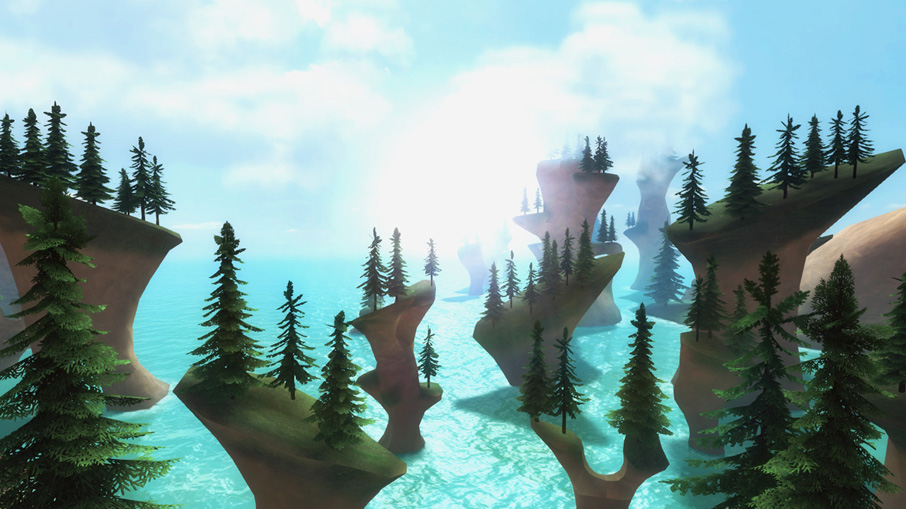
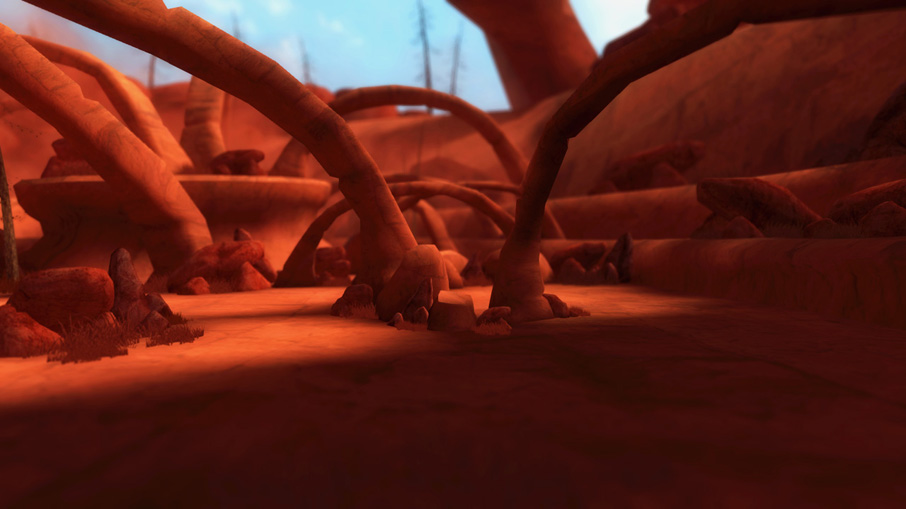
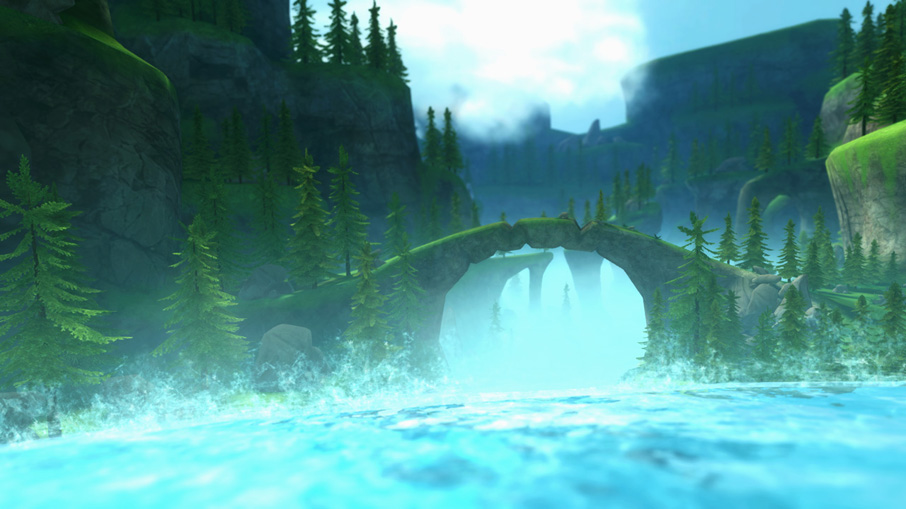
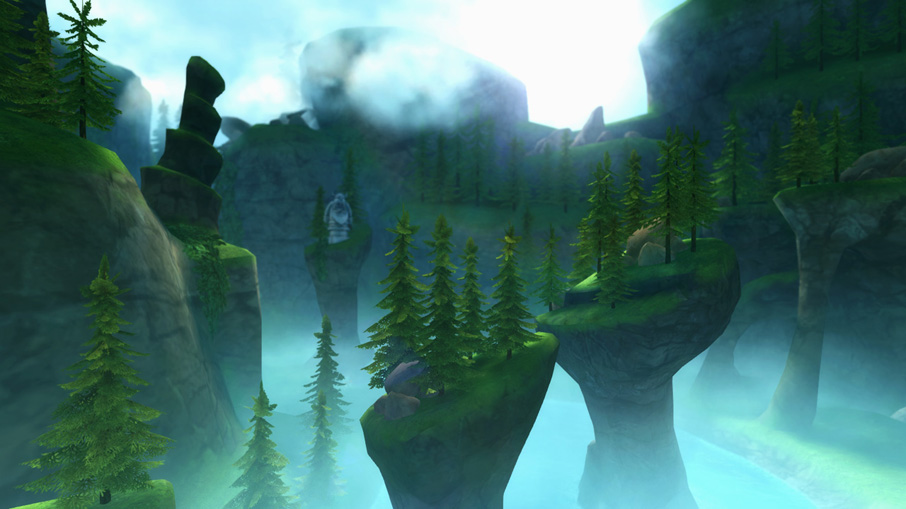
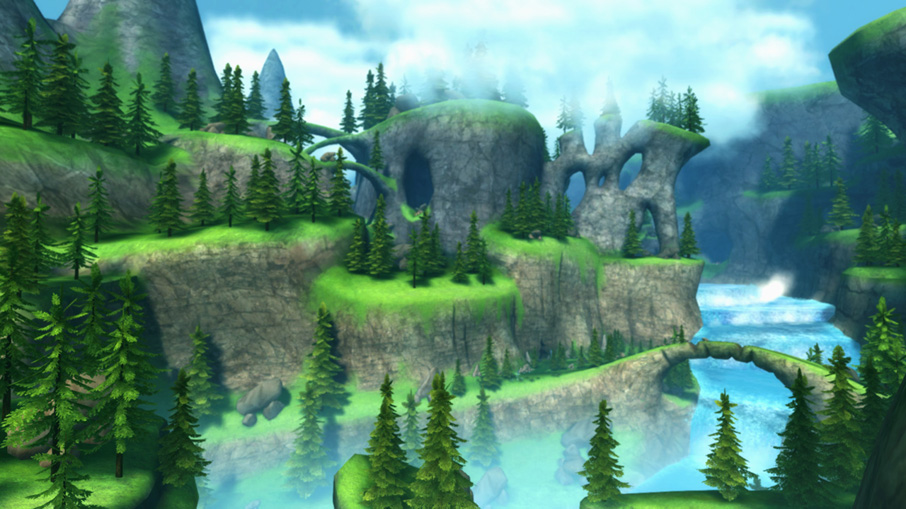
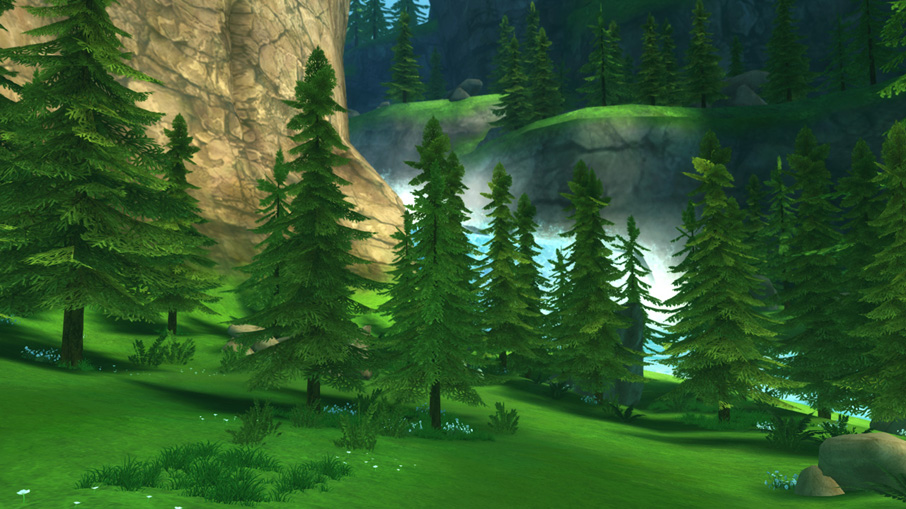
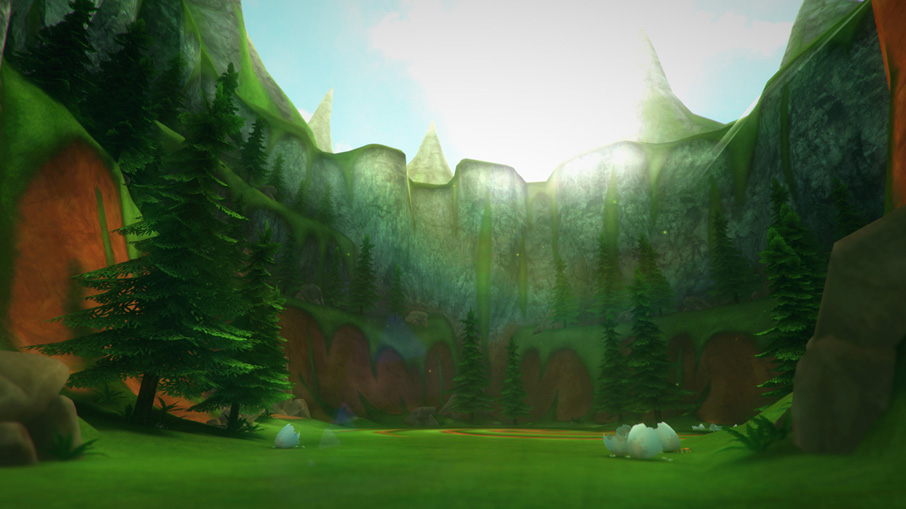
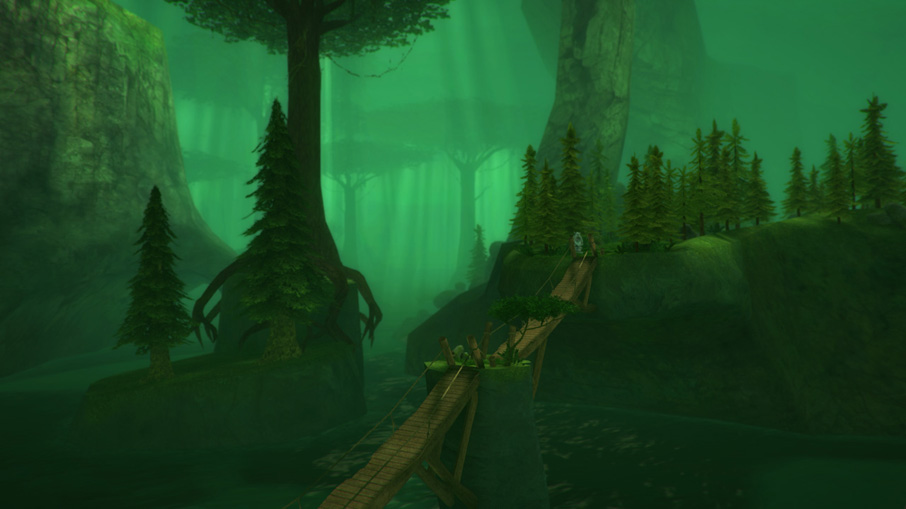
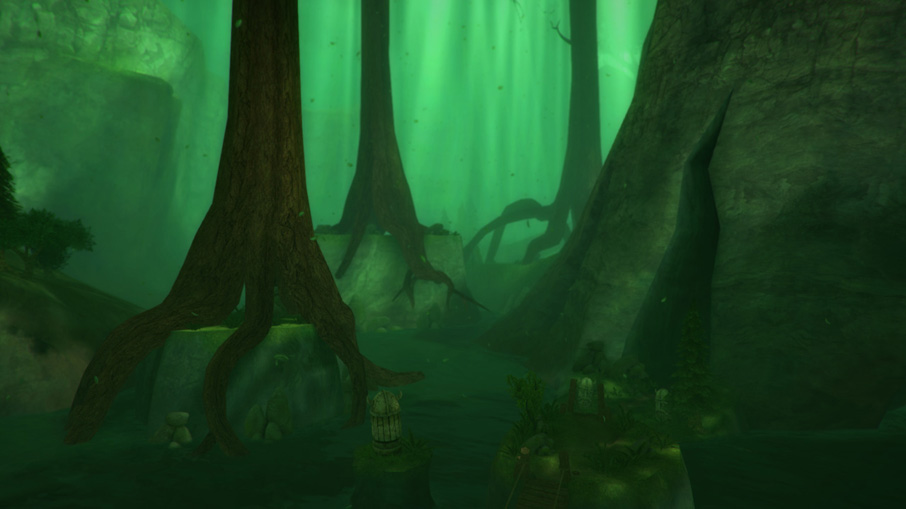
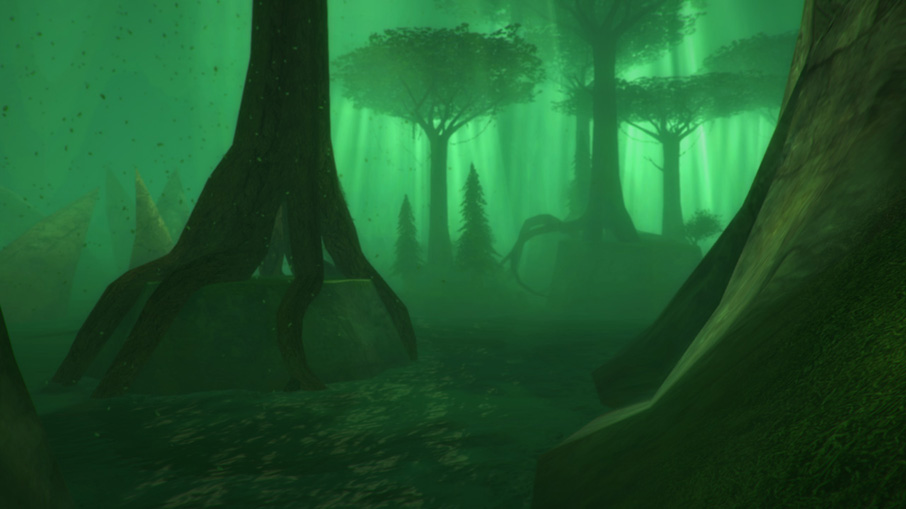
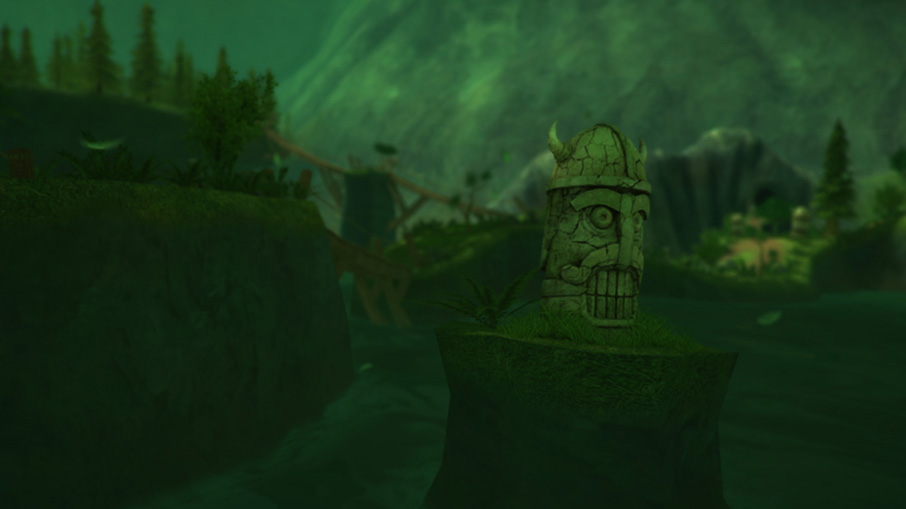
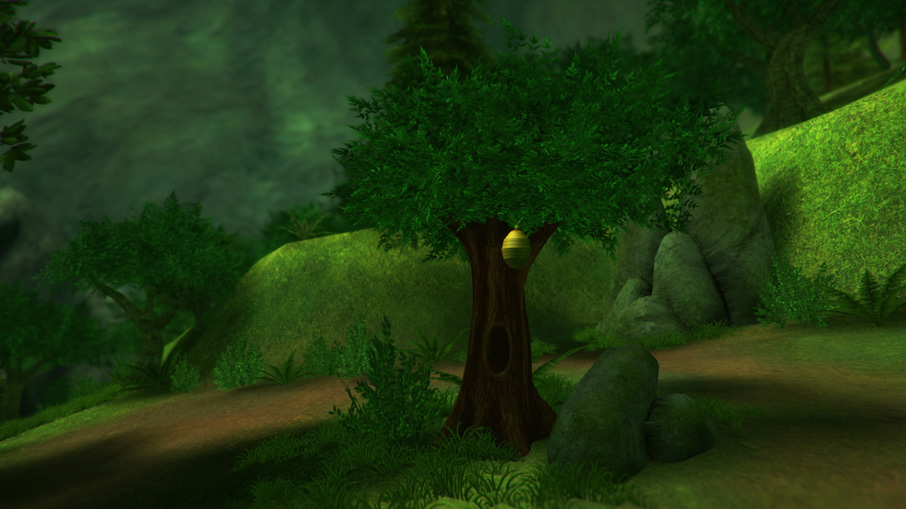
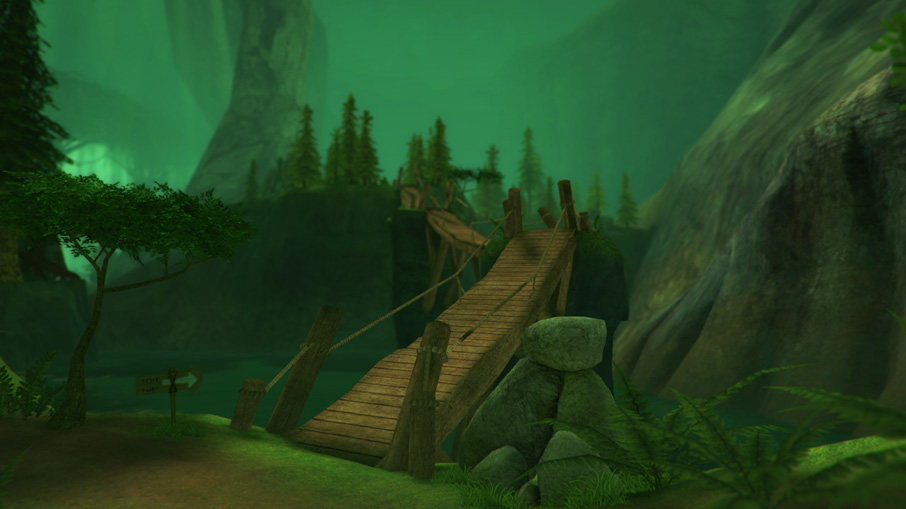
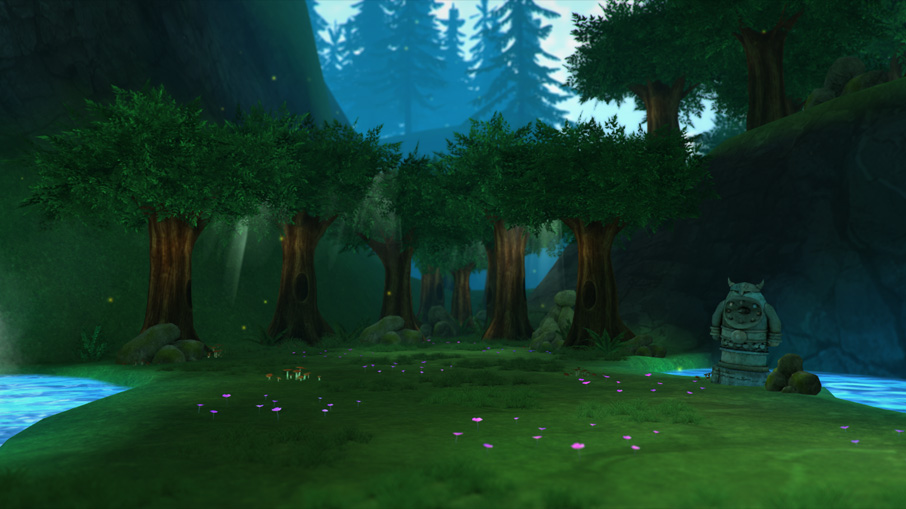
My main role in this project was to produce seven different environments for the game. The gameplay requires a huge scene for the flight mode and a small one for the game walking area. Below I am going to show a little bit of the process used to develop those environments.
Camera takes over the environments that I've produced. The background music is made by Dreamworks Animation.
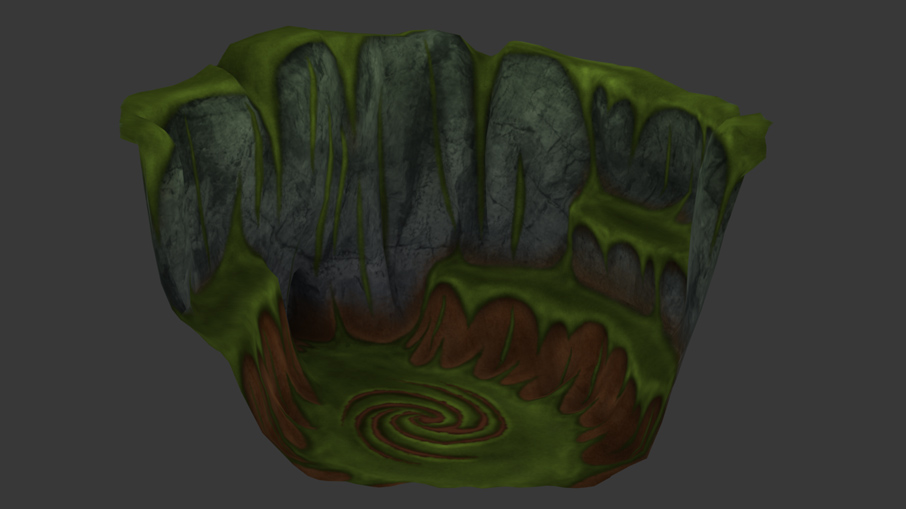
Terrain modeling and texture
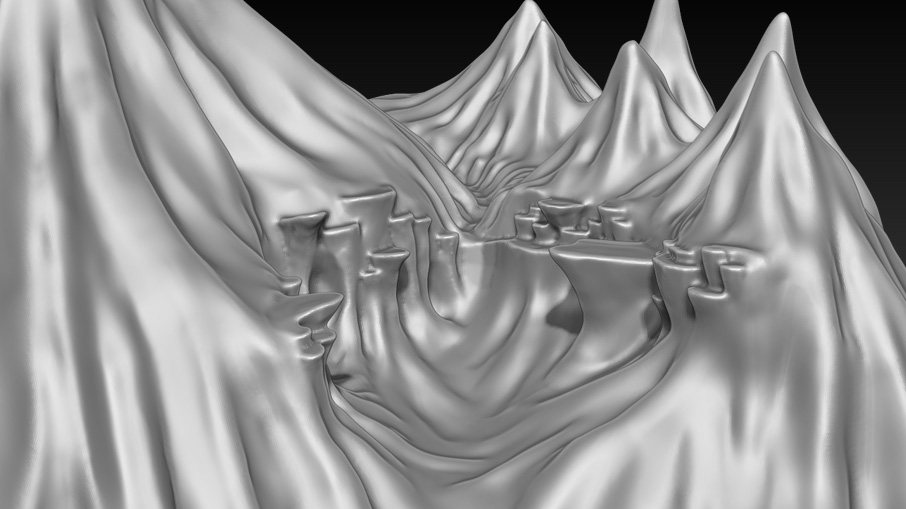
From the beginning of the project it was clear that we could not use the built-in terrain solution from Unity, which is based on a heightmap. We have to follow the art direction from the movie which has terrains with organic and stylized shapes. Seeing that, the solution was to use a mix of different softwares to model the terrain in a traditional way, but saving time and getting great results.
Sculpting
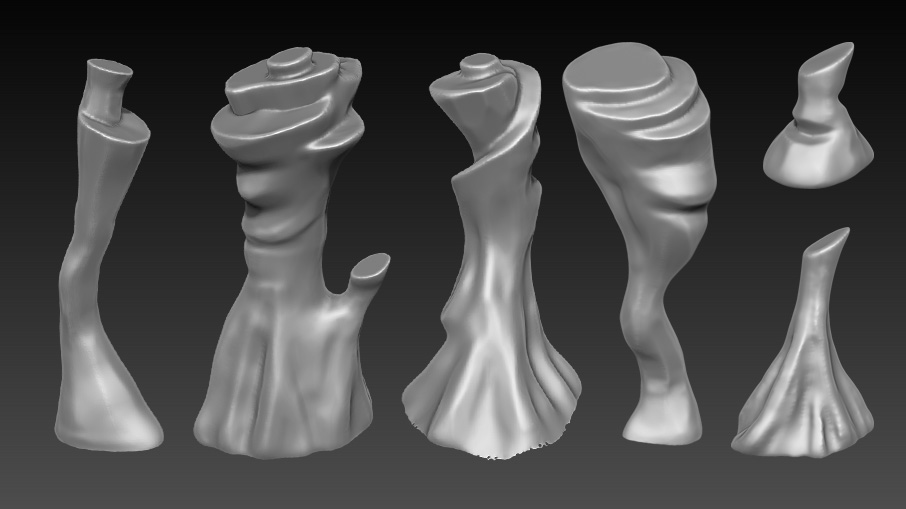
Inspired by the concepts created by the art director, I started my work inside ZBrush, sculpting from primitive objects to the main shape of the terrain using Dynamesh. To begin with, at times I modeled a simple mesh inside 3DSMax. With the sculpture base ready, I could focus on carving the rocks that would be reused in the environment.
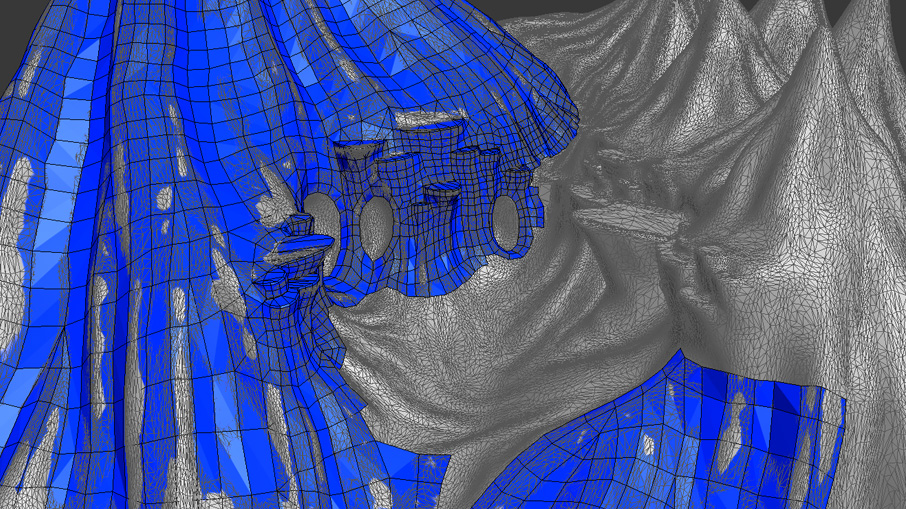
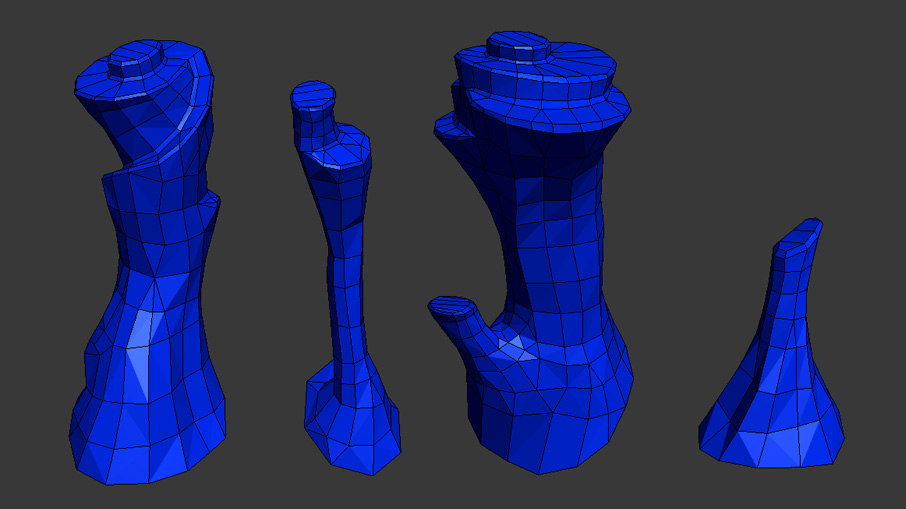
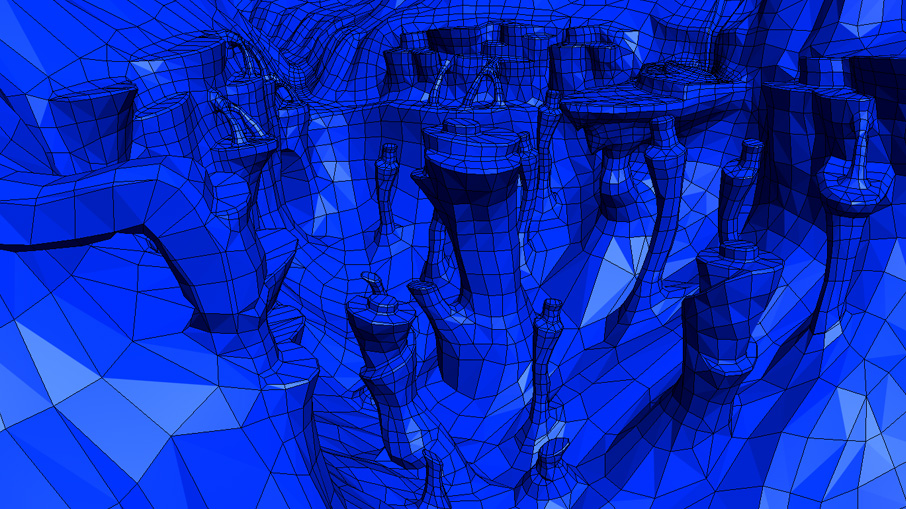
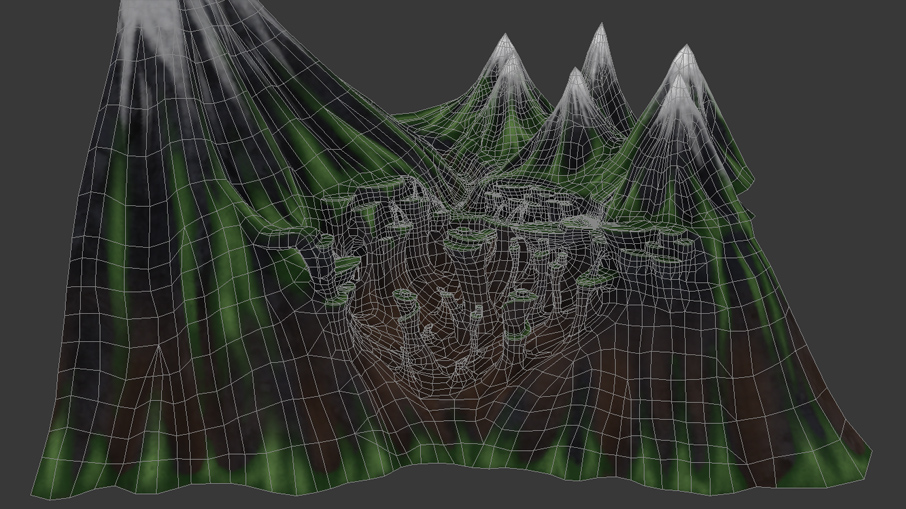
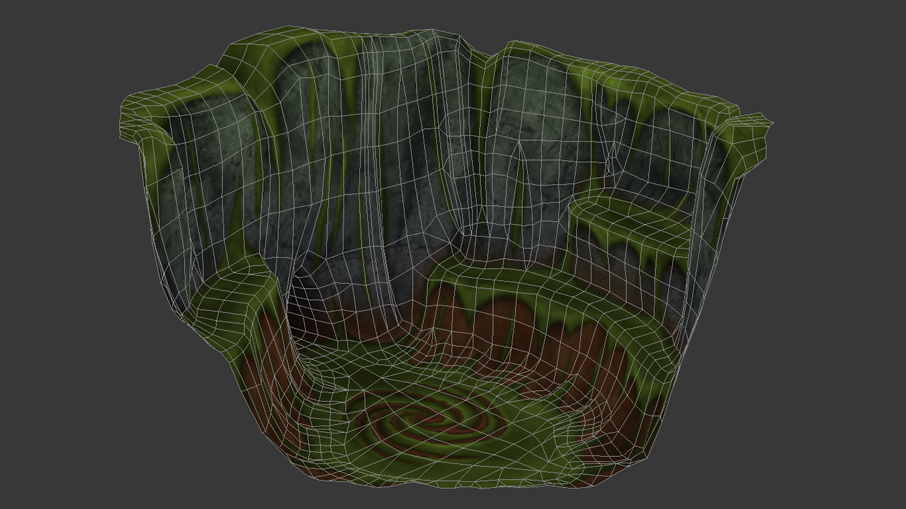
Retopology
After the sculpting step, I used 3DSMax to make the retopology of the high-poly terrain, to create an optimized mesh to use within the game. To build this, the Graphite Modeling Tools from 3DSMax were very useful. Honestly, once you learn how to use this nice group of tools, the process is more boring than hard to do.
First I made the retopology of the base sculpture and then the basemesh. The basemesh was made from the separated pieces that I replicated along the base connecting all of them in just one mesh. During this process, it was very important to use more triangles in the section of the basemesh where the exploration area will be considering that you will be a lot closer from these areas when walking. The limit of details for each basemesh was of 30.000 triangles.
Unwrap UVs
Once the low-poly model is done, I have to unwrap the UVs to prepare the model for the painting step. The idea is to connect the biggest amount of triangles possible and avoid seams at least in the more visible areas, without stretching too much the UVs. To do this the Relax tool was very important. Once again, it was very important to take care with the resolution of UVs near the walking area, saving more space to do it. The entire terrain for each environment has basically only one painted texture of 1024x1024, mainly to preserve the game file final size.
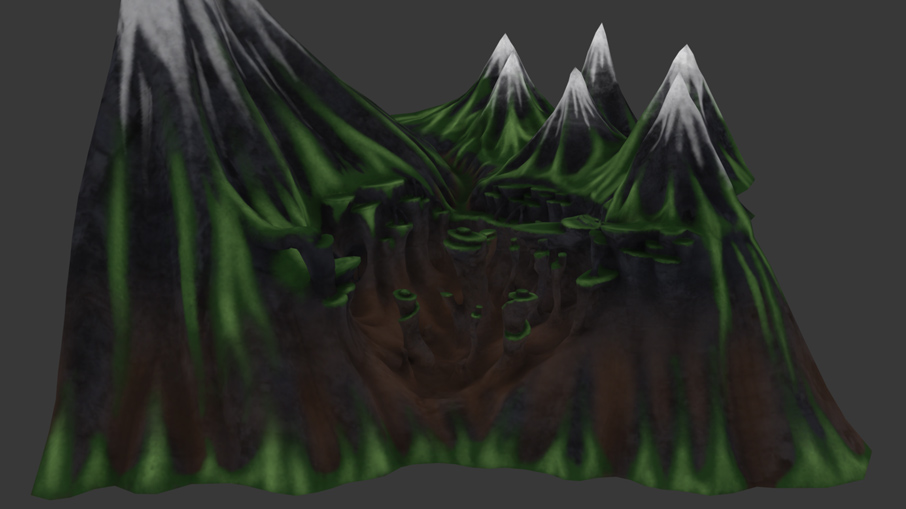
Painting
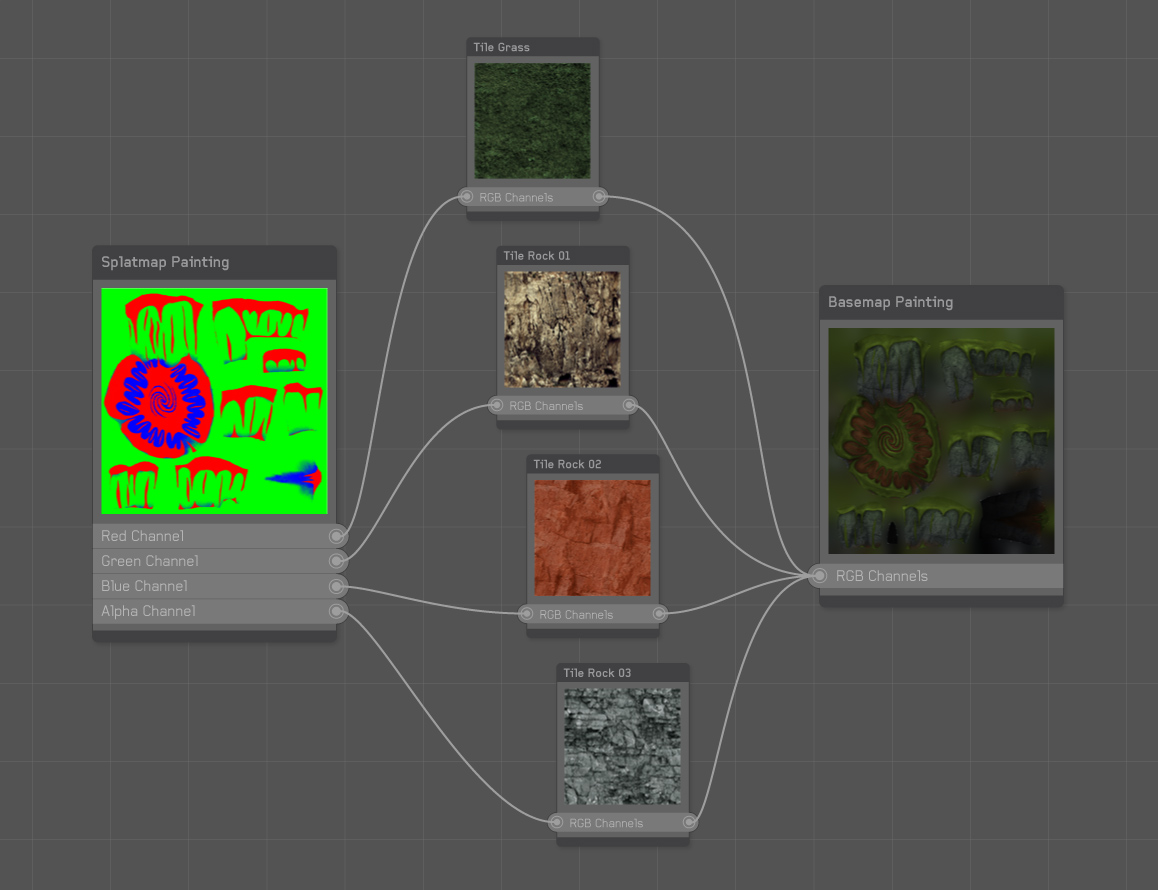
After unwrapping the UVs, starts the coolest part of the process: the painting. Here you can finally begin to see the final result of the terrain. For each terrain I had to paint two different textures: the basemap and the splatmap. The basemap will give the main look of the terrain texture, and the splatmap is responsible to show the correct tile texture according to the basemap.
Generally, the terrain’s UVs are messed up, being hard to paint directly on them. For that was used another built-in tool from 3DSMax: the Viewport Canvas, where we could paint the texture in the 3d model directly into a PSD file making use of layers. By doing that is possible to paint different elements separately to easily adjust and to reuse the basemap PSD to create the splatmap texture.
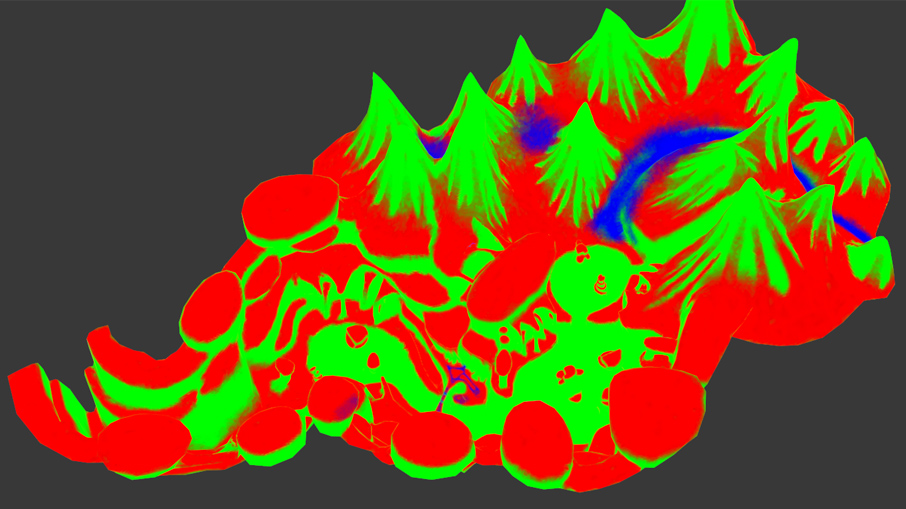
The splatmap is responsible for giving the correct tile according to the element painted in the basemap. It will give you a nice detail when you are close to the mesh. Here I use the 4 different channels of the texture (RGBA) and I paint each one of them with tileable texture that should appear on which area.
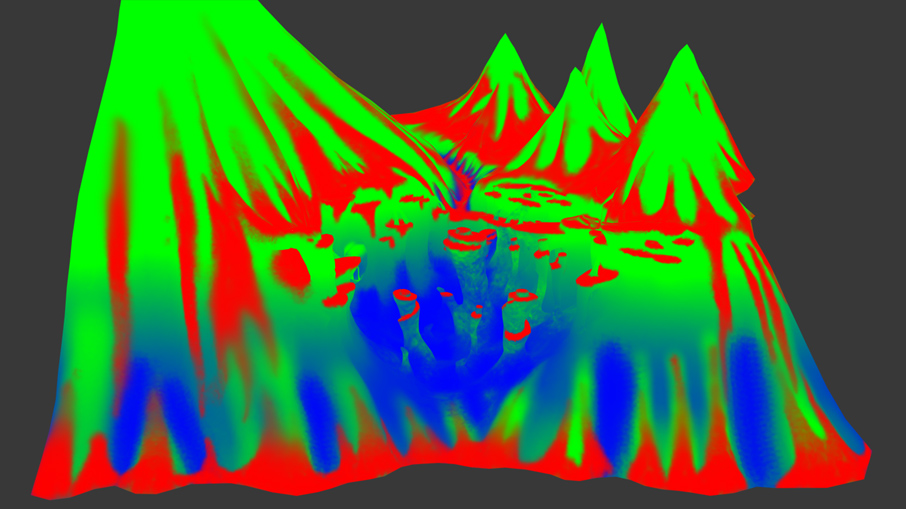

Terrain Shader
Below you can see a graph that shows in a simple way what the terrain shader does. Basically each channel from the splatmap texture (RGBA) is multiplied by the respective tileable texture and, in the end the basemap texture is multiplied by this result.
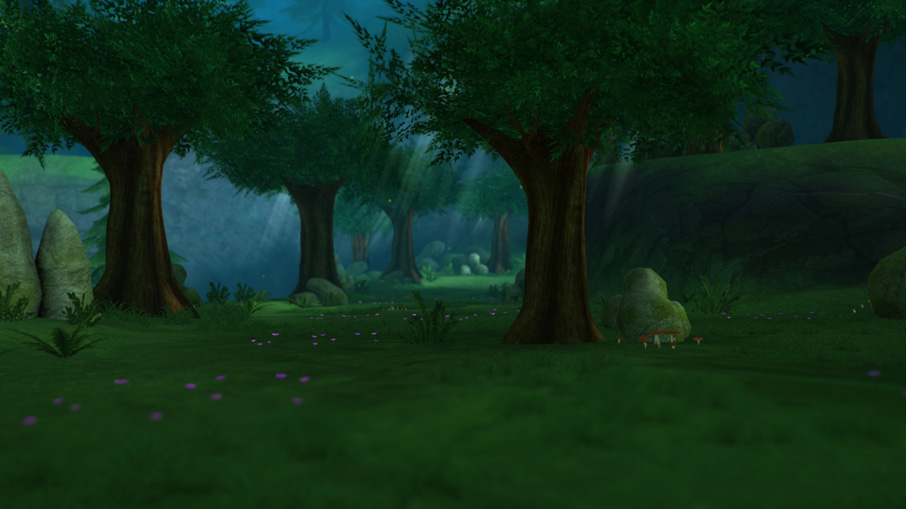
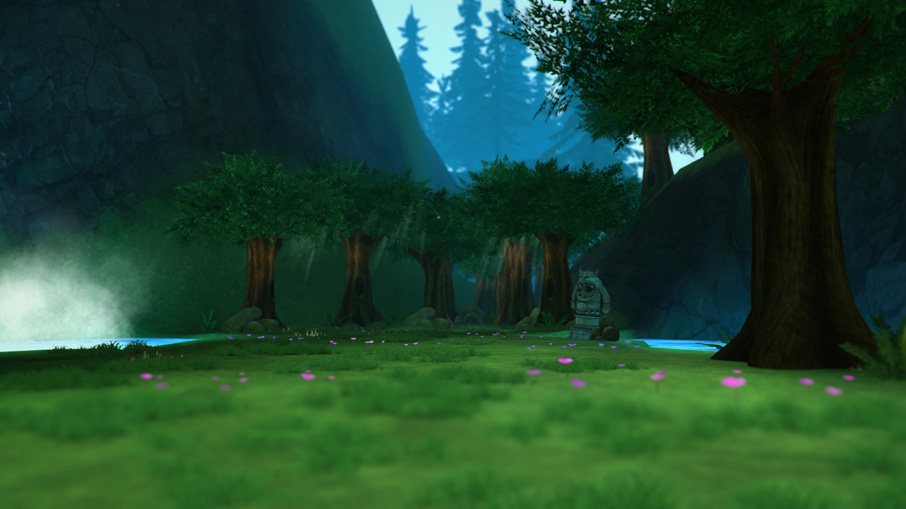
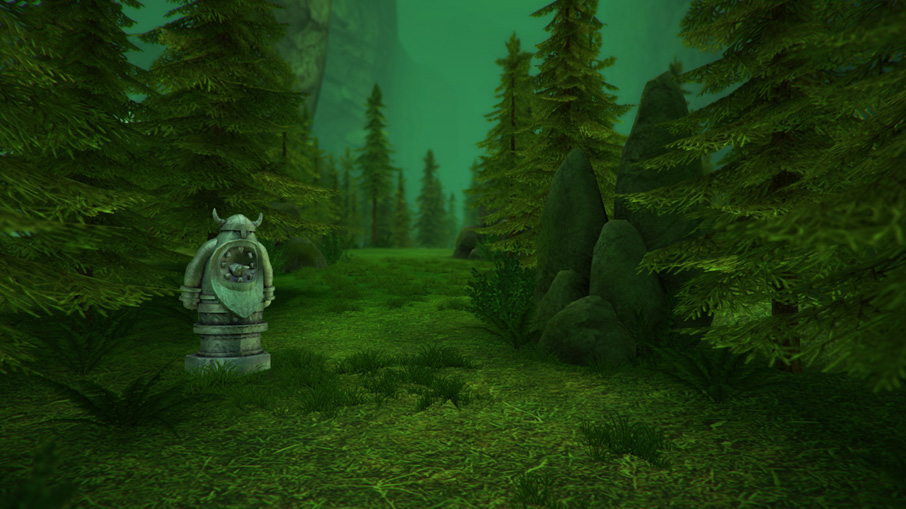
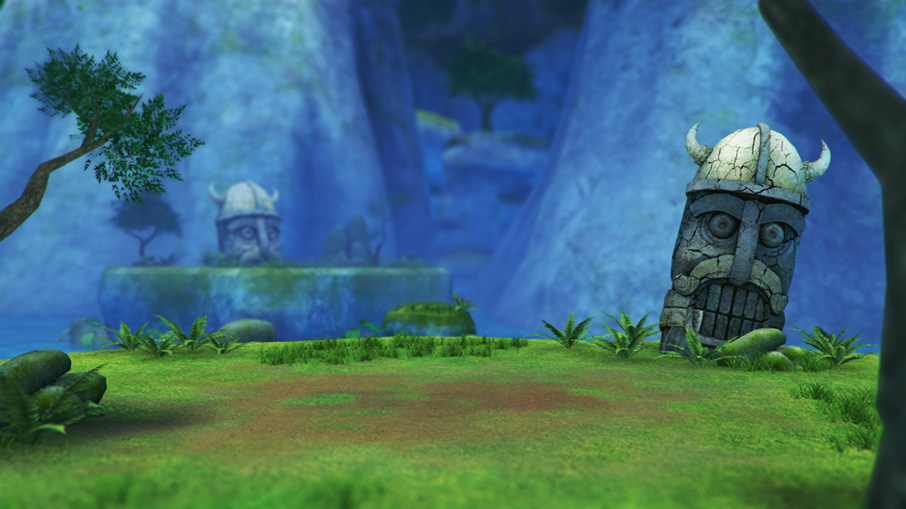
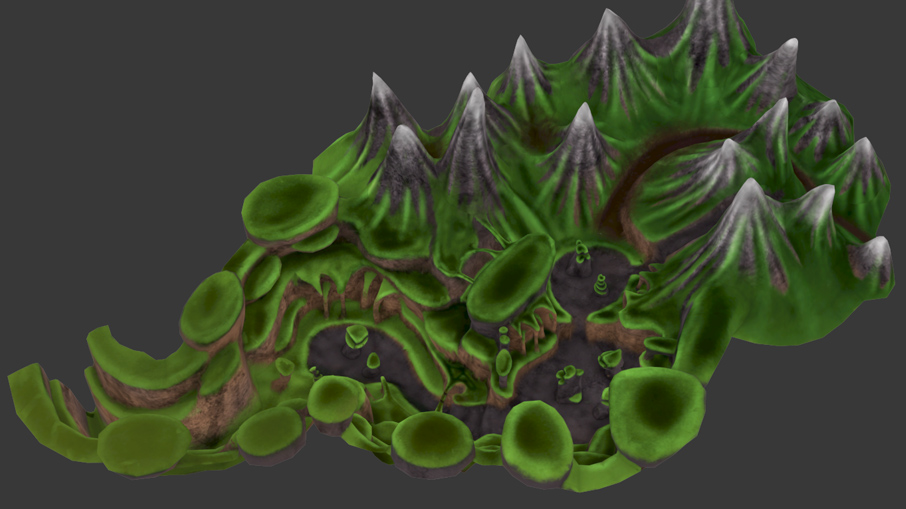
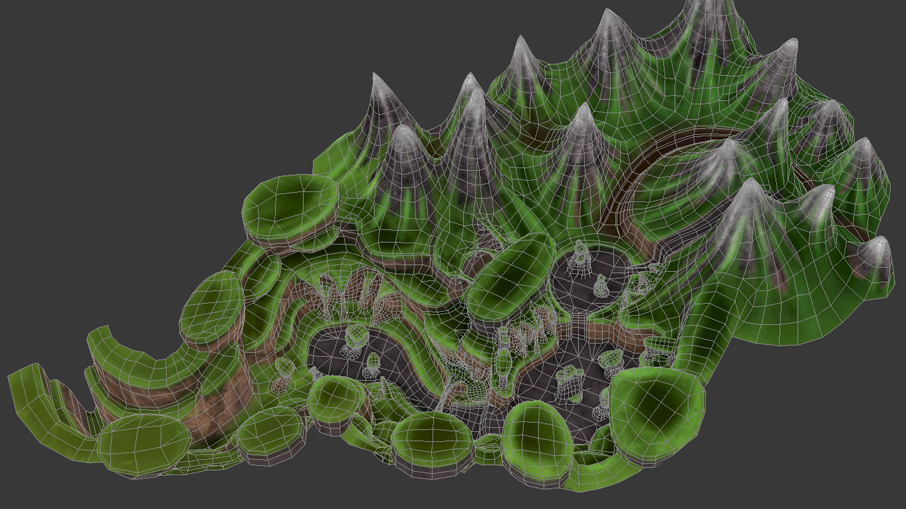
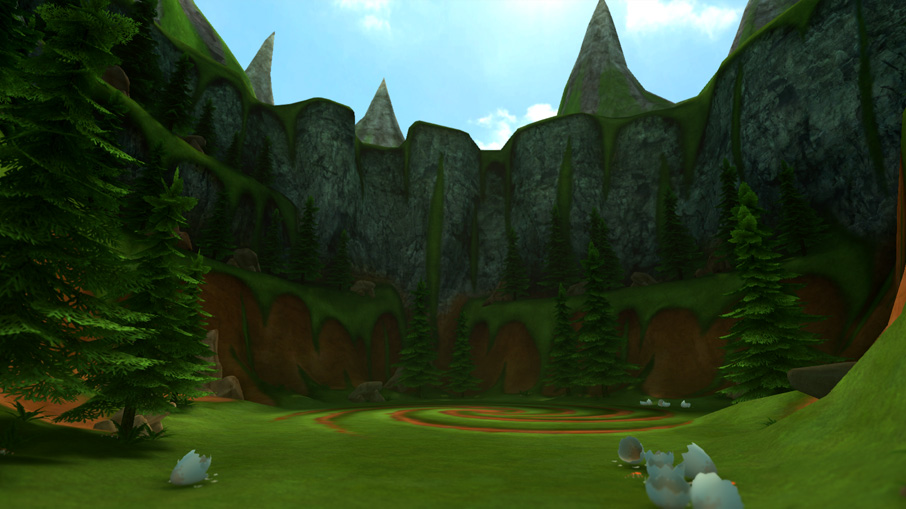
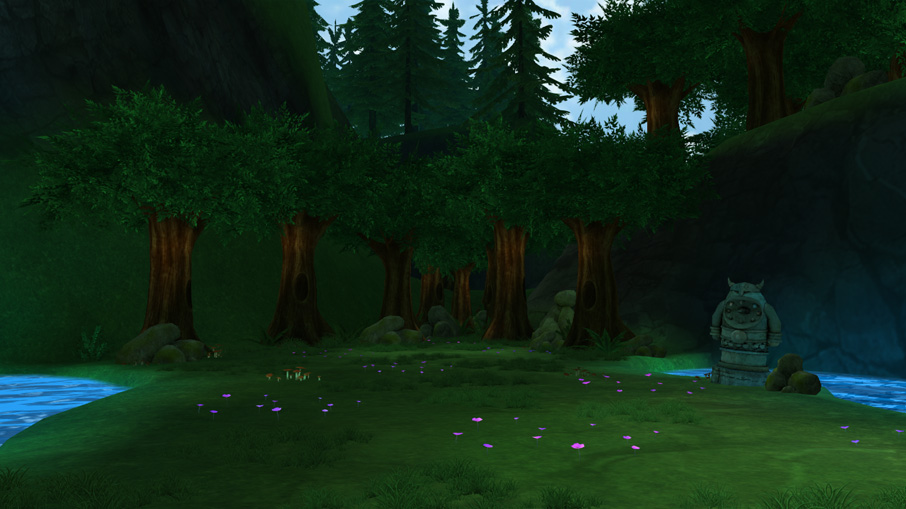
Props and compositing
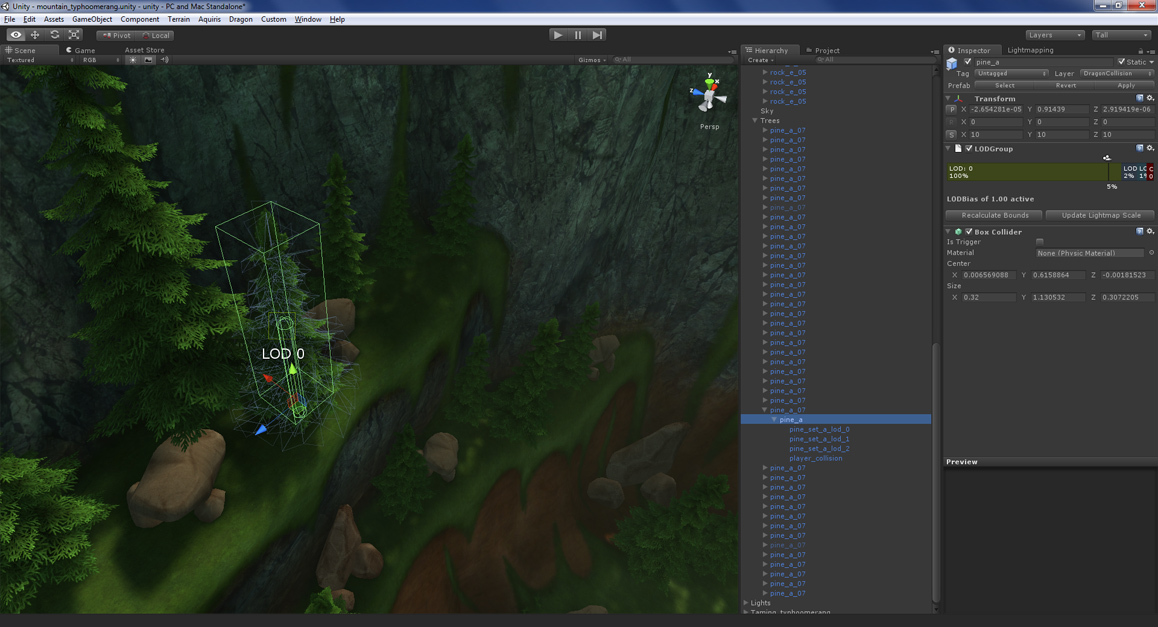
After the Terrain is ready, all the composition work needs to be done with props like, trees, pines, mushrooms, rocks, and in some cases, special props created for a unique environment. In the beginning of the composition of each environment, I have used an in-house Unity tool to paint objects in a target mesh in an easy way, which can be very useful for trees and grass. However you always need to make manual adjustments to finalize it, especially on the walking area where you need to be more precise once the player sees everything around him closer.
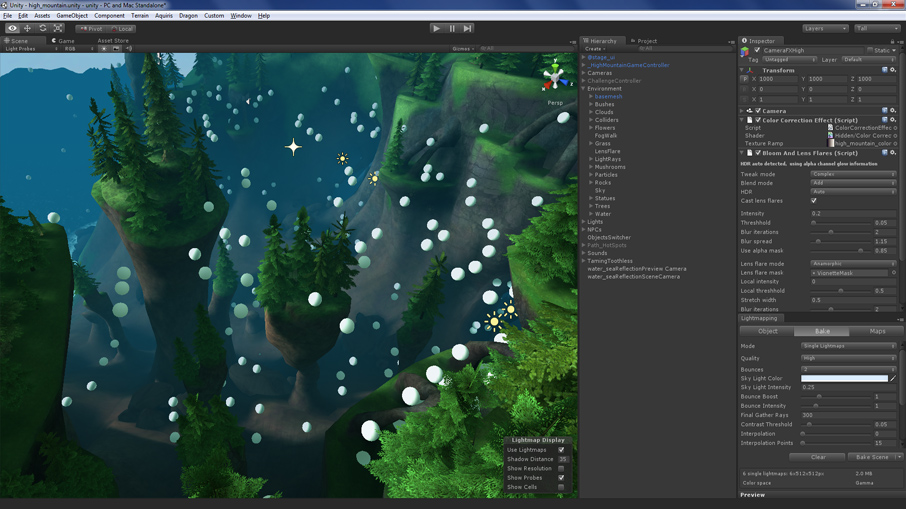
Lighting
At this point a basic lighting setup is made and lightmaps are generated to show how light will behave with the props on the scene. For each environment was used a maximum of five lightmaps.
LODs
To reduce the number of triangles being rendered on the screen, was used the LODGroup component from Unity. In most cases, each prop have three different detail levels.
Post-production
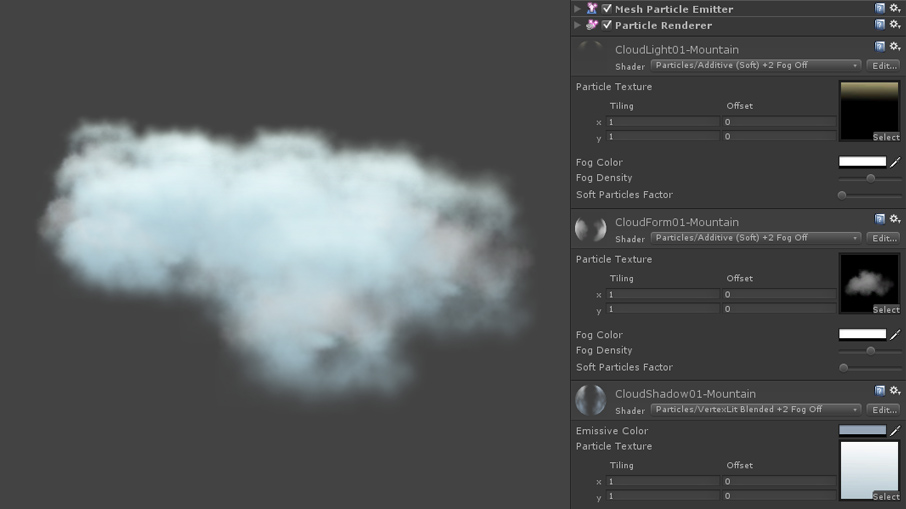
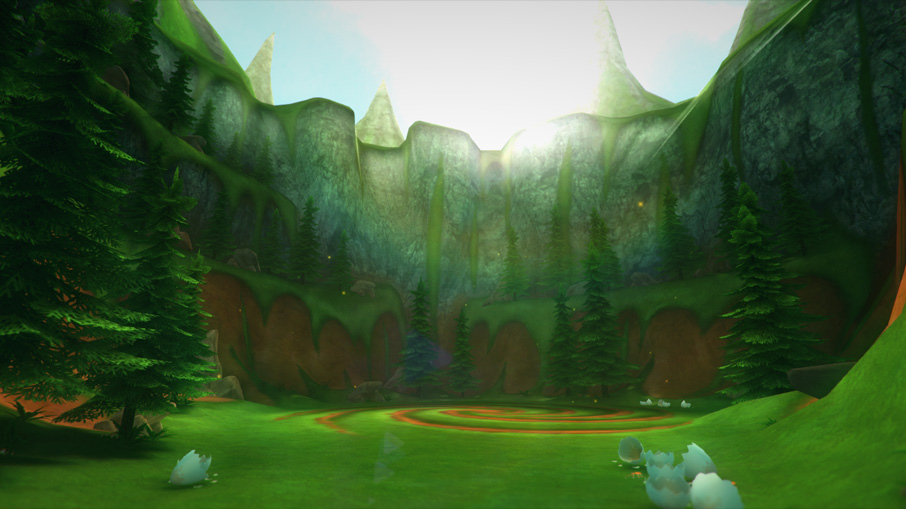
Last but not least, the post-production step. Here I enhance the environment, adjusting its camera’s effects, refining lighting, fog, sky, clouds, and creating particles. To make it even more polished, I have used Light Probes, a feature from Unity that allows me to illuminate models dynamically in a cheap way. It was used on characters, so when they area in bright areas, they will look brighter than in shaded ones.
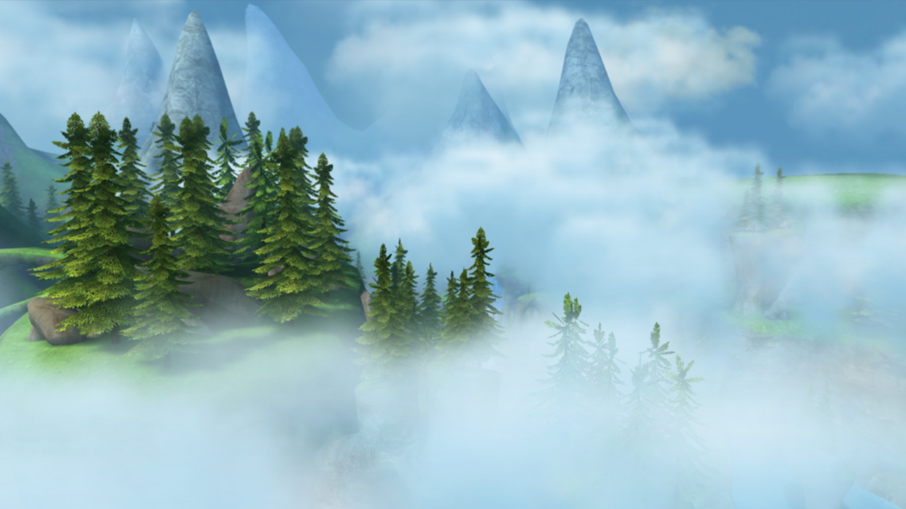
Clouds worked really well simulated with Mesh Particle Emitter and Particle Renderer, both far and near the camera.
Project Informations
- Company: Aquiris Game Studio
- Client: Cartoon Network
- Link: http://www.cartoonnetwork.com/games/dragons/wild-skies/index.html
- Year: 2012
- Production Time: 4.5 months
- Genre: Action/Flight
- Target Platform: Web/Browsers
- Engine: Unity 3.5
Credits
People directly involved with my work in this project.
- Wagner Monticelli - Art Director
- Amilton Diesel - Lead Technical Artist
- Rodrigo Lima - Artist (Major part of props modeling and some textures)
- Eduardo Dias da Costa - Programmer (Developed shaders and helped me with C# scripting)
- Alfredo Barcelos - Programmer (Helped me with C# scripting)